Want to just get started? Click here to sign up for Shopify and build your ecommerce website today.
The ecommerce industry is booming. Existing businesses with a retail presence and new entrepreneurs alike are all selling products online to make money.
But starting a new website from scratch, importing product catalogs, and accepting payments online can be a bit intimidating—especially if you’ve never done this before.
Fortunately, Shopify makes it easy for anyone to create an ecommerce website without any prior experience or technical skills.
This step-by-step guide will walk you through the entire process from start to finish, so you can have a Shopify website built in less than 30 minutes.
The Top Ecommerce Platforms to Build a Website
Shopify isn’t the only ecommerce platform to consider when you’re starting out. But it’s undoubtedly one of the best.
- BigCommerce – Best all-around ecommerce platform
- Zyro – Best price for a full online store
- Shopify – Best for your first million in revenue
- Squarespace – Best for cornering a niche market
- Wix – Best for stores with fewer than 100 products
- Bluehost – Best for WordPress users who want to sell online
You can read the full reviews of each ecommerce platform here.
6 Steps to Build a Shopify Website
Building a Shopify website is easy when you follow these simple steps below:
- Get Organized
- Sign Up For Shopify
- Design Your Shopify Site
- Build Out Your Pages and Organize the Navigation
- Add Products
- Connect Your Domain
The Easy Parts of Building a Shopify Website
Most people don’t realize how easy it is to create a Shopify website.
As an all-in-one ecommerce platform, Shopify has everything you need to create a website, sell online, and scale your business—all under one roof. You don’t need to hire developers or designers, or worry about learning how to code either.
Shopify even offers domain registration services and built-in web hosting for your site. So you won’t have to go to separate providers for each of these services.
Getting started is as simple as creating an account, naming your store, and choosing a theme that’s already optimized for ecommerce.
Other similar ecommerce platforms are good for beginners. But you’ll ultimately run into some stumbling blocks when your business scales, forcing you to turn elsewhere to sell online.
That’s not the case with Shopify.
Shopify is built to scale. They even have an enterprise-grade platform, Shopify Plus, for high-volume businesses. While this isn’t something you’ll need if you’re just starting out, it’s nice to know that you can stick with Shopify for the lifetime of your business—no matter how big it gets.
Accepting payments with Shopify is easy. The platform has a built-in payment processing service. But if you want to use your own payment processor, that’s fine too. Shopify supports hundreds of payment gateways available in different countries and regions.
With plans starting at just $29 per month, Shopify is an amazing value for the service.
The Difficult Parts of Building a Shopify Website
While getting your site up and running is easy, getting customers and making money is another battle altogether.
The ecommerce industry is highly competitive. Not only will you be competing with other brands selling similar products, but you’ll also be up against giants like Amazon and Walmart.
Getting lots of organic traffic to your site is going to take some time, especially If you’re starting a brand new ecommerce site from scratch. You’ll need to think about your SEO strategy and potentially run some paid ads to get visitors early on.
The most successful ecommerce brands find ways to differentiate themselves from the competition to attract customers. So you’ll likely go through lots of trial and error with your branding strategy.
Having people land on your site is only half the battle. You still need those people to convert and buy your products. This means you need to have great product images and product descriptions that entice people to buy.
Even after the sale, you still need to prioritize customer loyalty to keep those people coming back. Running a Shopify website also involves dealing with customer feedback and returns.
But if you’re willing to put in the work, building a Shopify website can be a huge money-maker.
Step 1 – Get Organized
Unlike other website builders, Shopify is built specifically for ecommerce. It’s not like you’re starting a small personal blog for fun to tell your life stories—you’re starting a business.
You can’t go into this haphazardly, or the business will fail.
For a start, put your ideas in writing. You should have a business plan, a separate bank account, and an employer identification number (EIN) for your business as well. You also need to formally register your business by creating a legal entity, like an LLC or corporation.
Technically, none of this is actually a requirement for building a Shopify site. So I won’t spend too much time on it. But there are a few other things that you must have prepared during the creation process.
Create a Store Name
Come up with a clever name for your Shopify site. If you already have an existing retail business, then you’re probably going to just use that name again here—unless you’re using Shopify to rebrand yourself or create a new brand online.
Shopify has a free business name generator that you can use for inspiration.
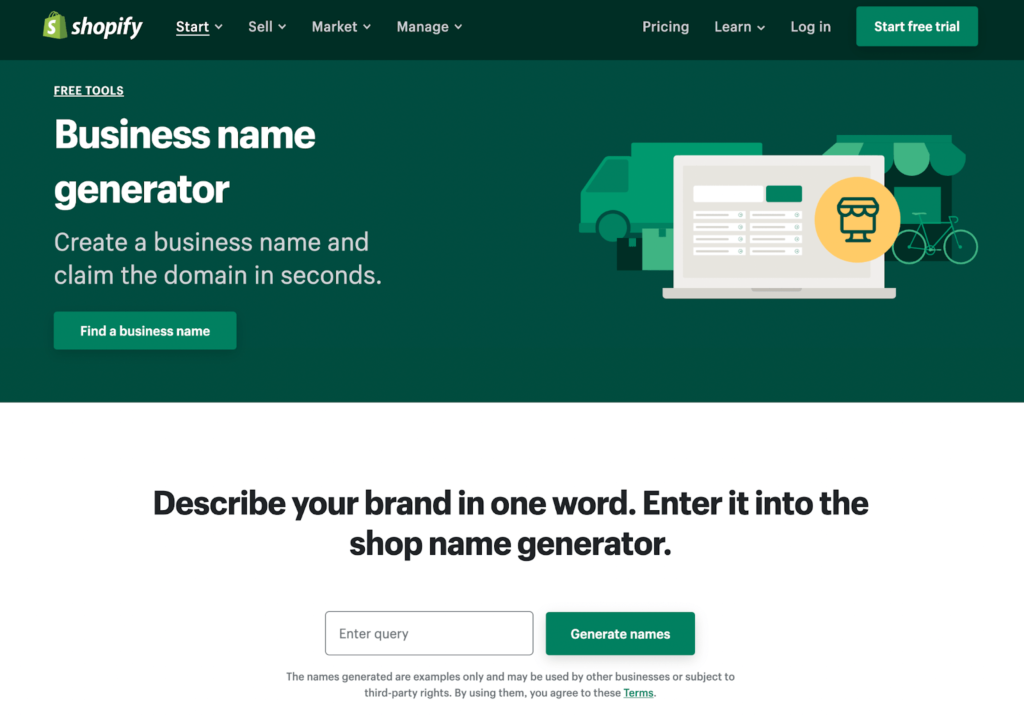
If you find a brand you like, you can even claim the domain name if it’s available.
Decide What You’re Going to Sell and Who You’re Selling To
You should have an idea of what you’re selling on Shopify before you go through the creation process.
Adding products to your site is an important step in the build. So you need to know what those products are and where they’re coming from. This will also help you build out your product pages and information about the business.
Even your design choices will likely vary based on your target audience.
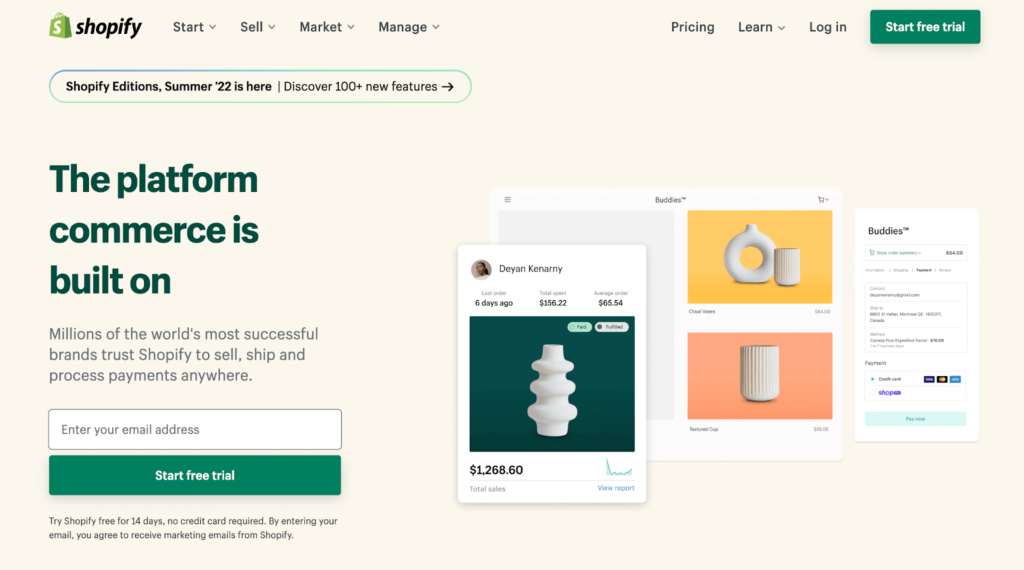
Step 2 – Sign Up For Shopify
Head over to Shopify and create an account. You just need to provide an active email address and create a password to get started.
Choose a Plan
There are three different plans to choose from.
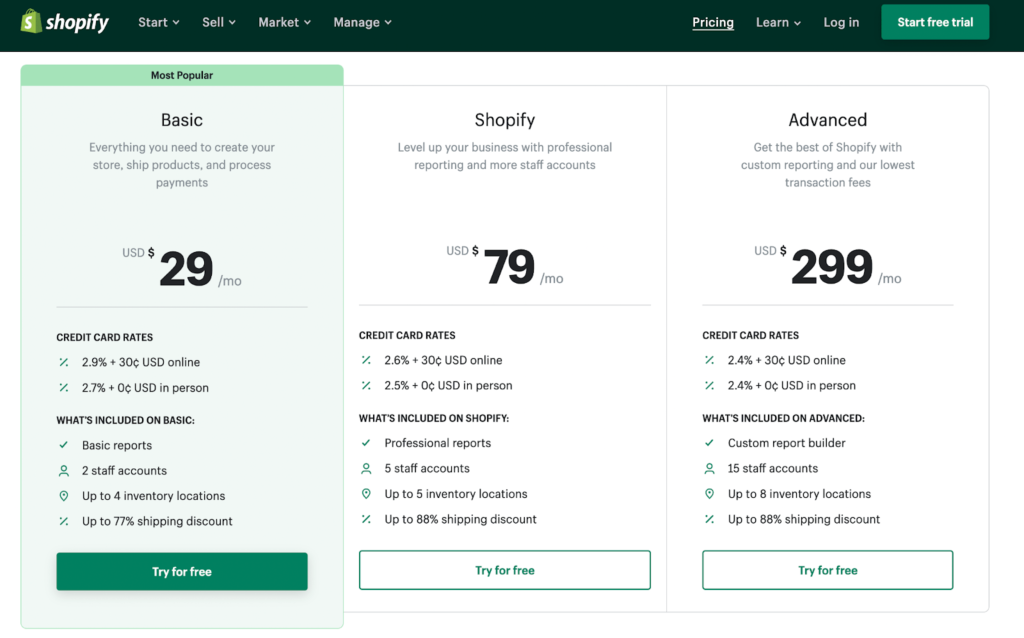
The vast majority of new users start with a Basic subscription. But if you already have an existing retail business or you’re migrating from another ecommerce platform, jumping straight to the Shopify plan might be a better option for you.
All plans come with everything you need to start selling online. Even the entry-level plan supports retail sales with POS integrations. But the mid-tier plan comes with extra staff accounts, shipping benefits, ecommerce automation, better reporting, and reduced rates for Shopify payments.
If you’re unsure which plan is right for you, just sign up for a 14-day free trial and pick your plan later.
Follow the Setup Wizard
Once you’ve signed up, Shopify will walk you through a series of questions to get you started.
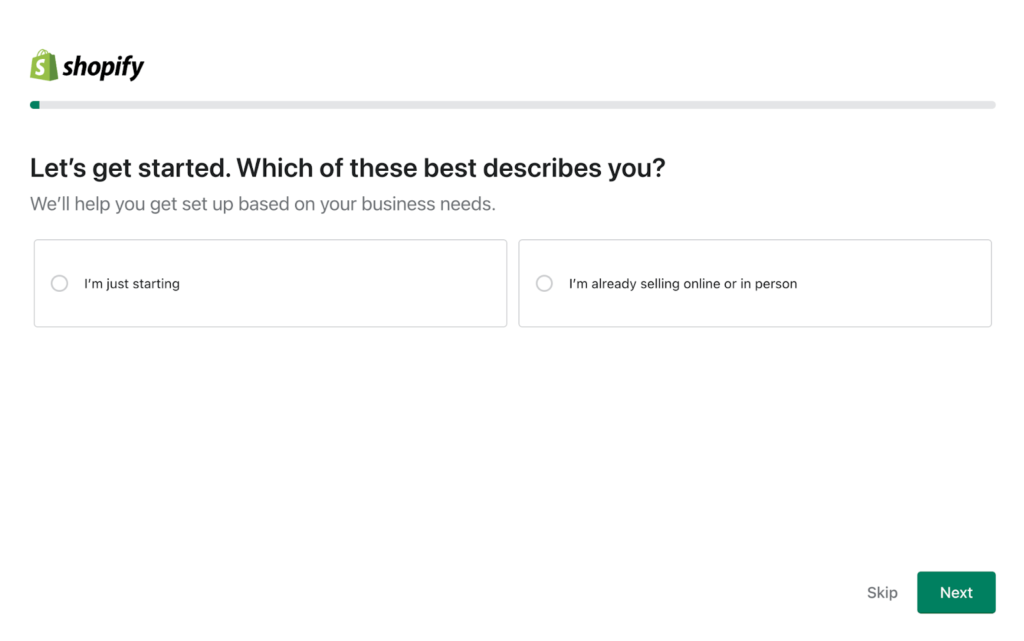
They’ll ask you if you’re just starting out or if you’re already selling elsewhere.
Other questions in the setup wizard include:
- Where would you like to sell? (online, in person, on social media, etc.)
- Do you want to sell products via dropshipping?
- Where is your business located?
You could skip the setup wizard if you want, but I think it’s a helpful way to get on the right track and get your site built as quickly and efficiently as possible.
Step 3 – Design Your Shopify Site
Now it’s time to focus on the design elements of your Shopify website. Fortunately, you don’t need to have any design experience or hire an expensive design team to handle this step for you.
Select a Theme
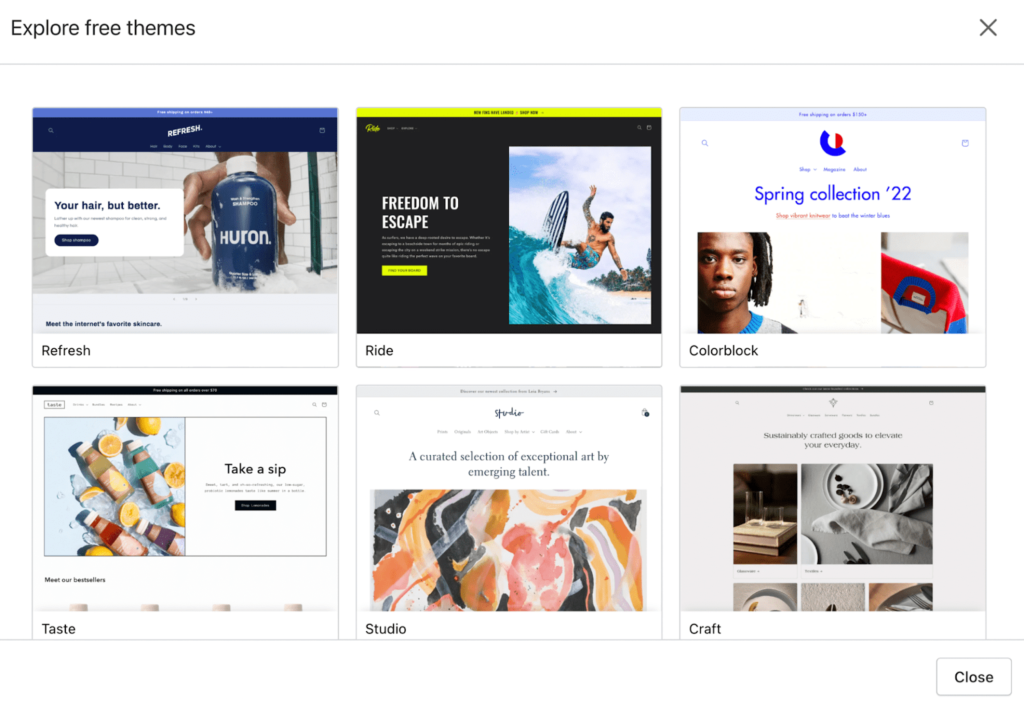
Shopify has more than 70+ free and paid themes for you to choose from.
To choose a theme, navigate to the Themes menu in the Online Store section of your Shopify dashboard. Then scroll to the Theme Library to browse from free and paid themes.
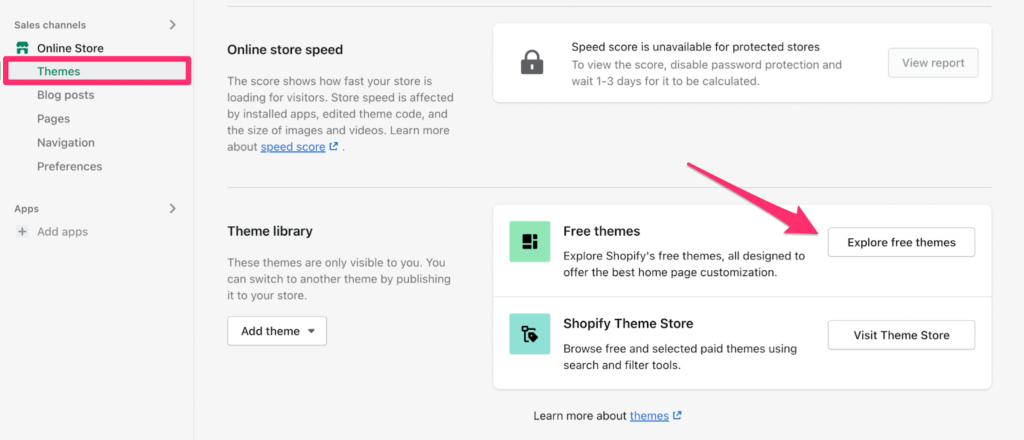
If you’re on a tight budget, there’s no need to pay for a theme. The free themes are great, and your visitors won’t know the difference.
Just browse through the themes to find something that fits your brand image and what you’re selling.
You can always change your theme later on, but the rest of your design tasks will be easier if you stick with just one throughout the process. So it’s worth taking a few extra minutes here to land on a theme that you’re happy with.
Add Brand Assets
The theme is just a starting point. From here, you can totally customize the look and feel of your Shopify store.
You can change the color scheme, add custom images, add your logos, and everything else to make the store your own.
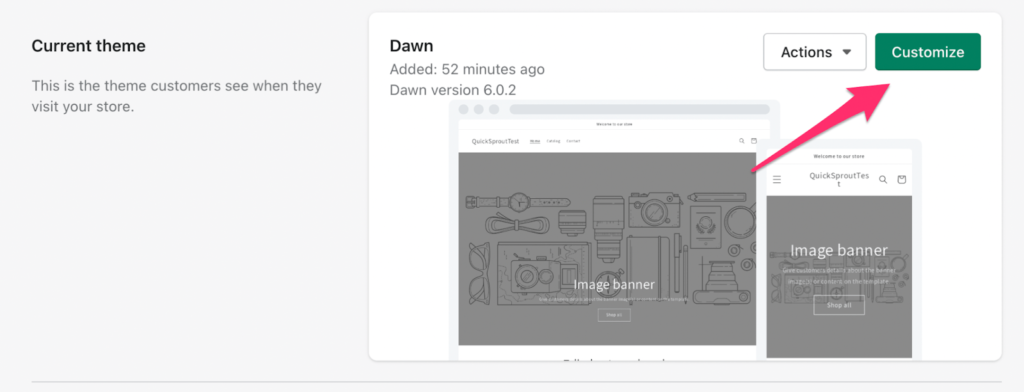
As you’re customizing the theme, you can preview all of your changes in real-time. This shows you exactly how your site will look to visitors.
Step 4 – Build Out Your Pages and Organize the Navigation
Beyond the homepage, you need to create all of the other pages for your Shopify store.
Navigate to the Online Store menu on the left side of your dashboard. Then select Pages and click Add page to build them out.
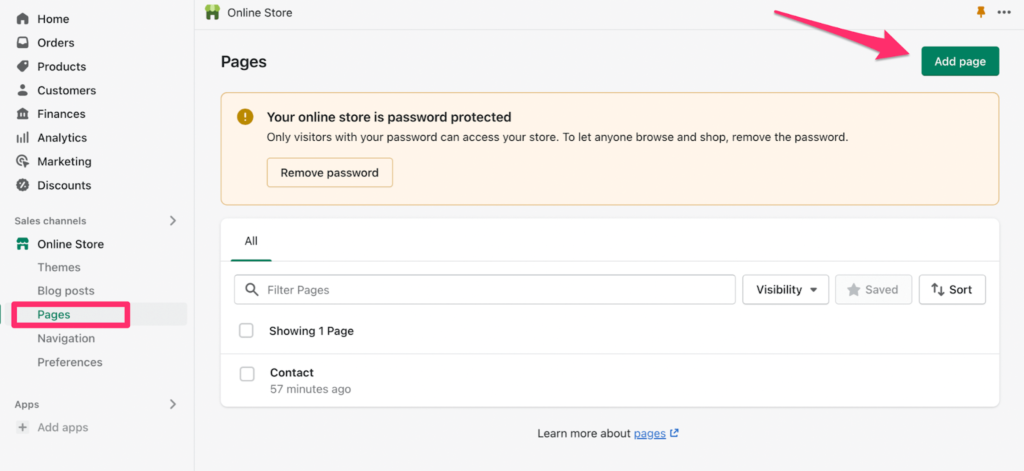
As you can see from the screenshot above, my Shopify site is currently password protected. This means that nobody can access the site right now unless they have a password.
Don’t freak out if you see this message. You don’t want people to access your site while it’s in the building stage, and we’ll address this later before the site goes live.
Landing Pages
Every ecommerce website should have the same basic pages. Things like:
- Home page
- About Us
- Contact Us
- Product Pages
- Blogs
Don’t overthink this. Just stick with basics for now, and you can always add or customize more pages later on. Here’s a preview of a basic contact page on the sample website I’m building for this tutorial:
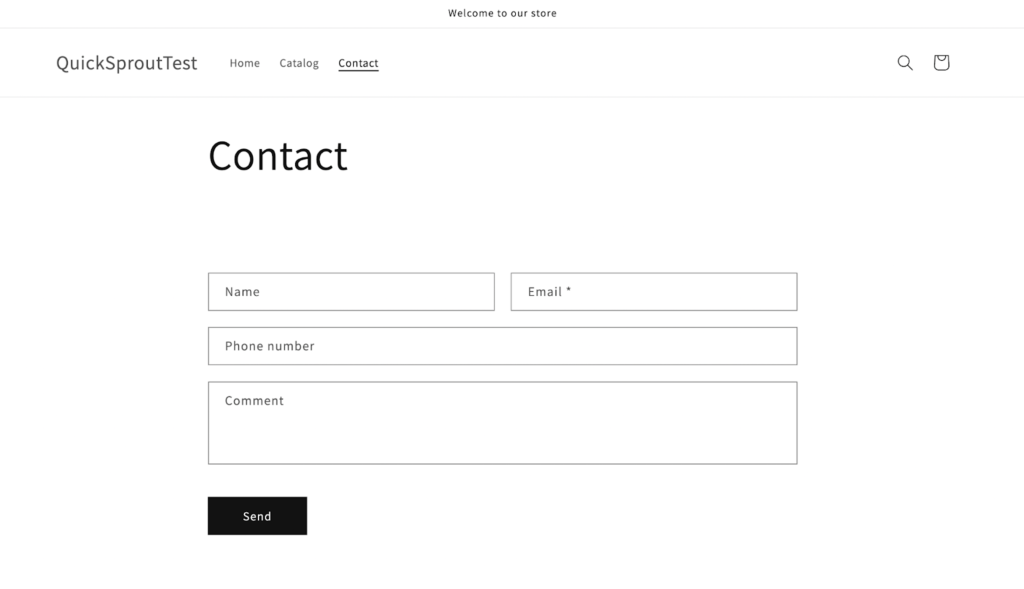
That’s all we need for someone to reach out with a question or for some help.
Navigation
Now you need to customize the main menu of your Shopify website. This allows users to quickly jump from one page to another.
Click on the Navigation menu on the left side of your Shopify dashboard, located below Online Store.
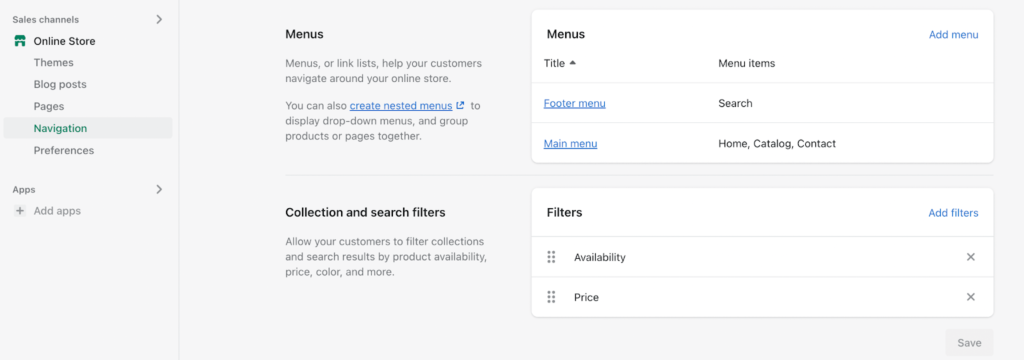
You can create nested menus, add or remove pages from the menu, customize the footer menu, and more. You can even set up search functionality for website visitors to browse for products and collections within your menus.
Step 5 – Add Products
Products are obviously an important part of any online store. Let’s look at the two easiest ways to get products live on your site.
Adding a Single Product
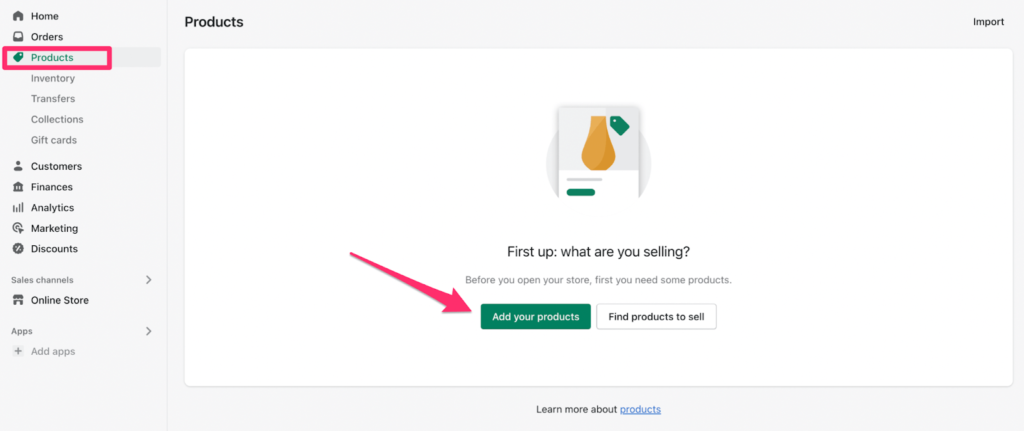
If you’re just starting off with a handful of items, you can manually add products one at a time.
Navigate to the Products menu on the left side of your Shopify dashboard and click the Add your products button to get started.
From here, you can fill in all of the information related to the item, including:
- Product name
- Product description
- Product images
- Status (active or draft)
- Pricing information
- SKU
- Barcode
- Shipping information
You can even set up inventory tracking and edit the SEO listing for how the product might appear in search engine results.
Creating a Product Collection
You can also use Shopify to create product collections. A collection is a gallery of products within the same category.
Examples of collections might include:
- Men’s shirts
- Women’s accessories
- Bedding
- Footwear
- Activewear
- Coats and jackets
There are two ways to set up collections—manual and automated.
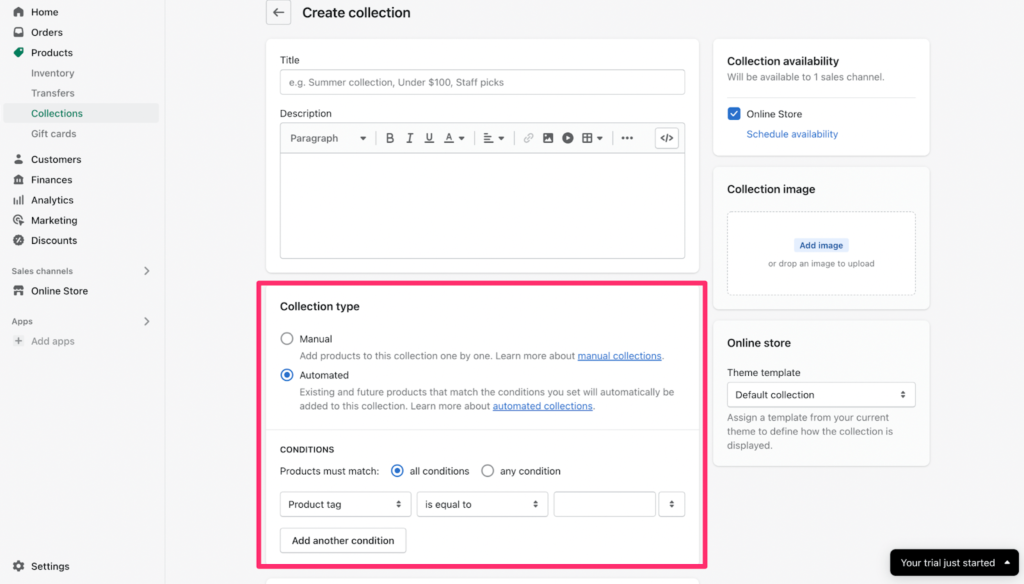
With a manual collection, you’ll hand-pick products to add.
But with an automated collection, you can create conditions for products to automatically be added. For example, you can create collections based on price, product type, inventory level, vendor, or custom tags.
Collections make it much easier for your customers to browse and purchase items online. Unless you’re only setting a dozen or so items, your Shopify website should have some collections to stay organized.
Step 6 – Connect Your Domain
By default, your Shopify store will have a subdomain when you create an account. But this should be removed before you go live.
For the purpose of this tutorial, my Shopify site is quicksprouttest.myshopify.com. That’s obviously not very professional.
So you need to either buy a new domain or connect an existing domain that you purchased elsewhere before going live.
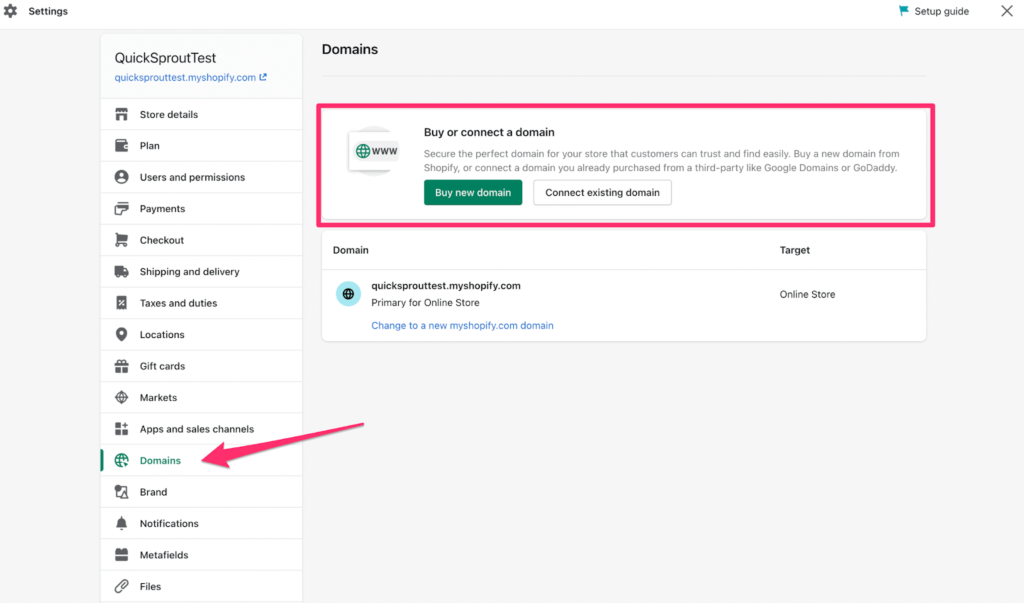
If you don’t have a domain name, you can purchase one directly from Shopify. This is the easiest approach.
But if you’re planning to buy multiple domains or you want to plan ahead for the long run of managing your domain, it’s better to get one straight from a domain registrar.
Go Live
Once you’ve connected your domain, you can finally get your site live. If you have password protection set to the site, you can remove it from your Preferences menu.
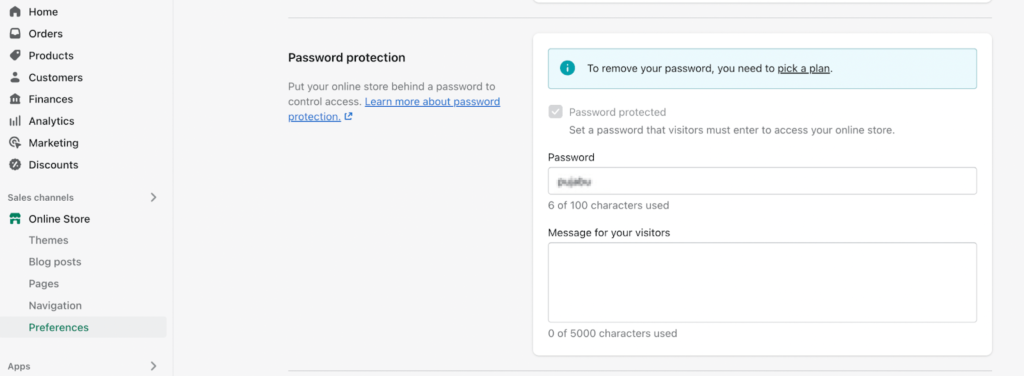
Just be aware that you can’t remove the password protection if you’re still on a free trial. Make sure you pick a plan before going live.
from Quick Sprout https://ift.tt/zZHLfvy
via IFTTT
